How to Get the Best Crop in LIghtroom
Lightroom has a number of options within it's crop tool that can help you make sure you get the absolute best crop for your image. That way you can make sure you have the used a composition for your photo that gives it the most impact!
In this post, I'm going to walk you step by step through using the crop tool, and the different options you can choose to help you get the best crop in Lightroom.
Let's dig in!

Before we kick this tutorial off - if you are new (or newish!) to Lightroom you might want to download my totally free Lightroom Starter Kit. It's got an editing checklist, a step by step guide for importing your photos, and recommended export settings. Grab it by clicking on the image below!
Get yourself into Lightroom, then into the Develop Module and let's get cracking with cropping our image!
Step One: Go to the crop tool
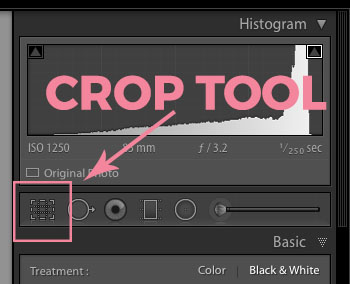
Naturally, the first thing you need to do is open up the crop tool!
Go to the toolbar on the panel on the right hand side (just above the basic panel) and choose the crop tool. A new dialogue box will drop down where you can make some choices regarding your crop.
Step Two: Choose your aspect ratio
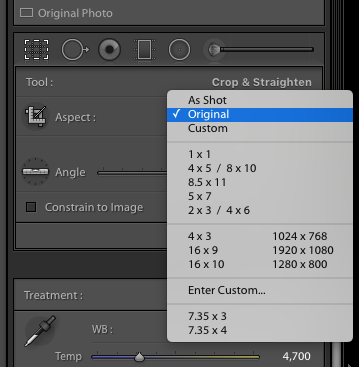
Click on the aspect ratio, and choose a different one if required.
Your camera's standard aspect ration is 3:2, but you may wish to use an 8 x10, or a 16 x 10, or even a 1:1 for a square crop.
Choosing a different aspect ratio can have a big impact on your image - a square crop is "read" differently than a Panoramic crop for example, and it also may help make the proportions of the image look better.
You can spend a little time experimenting with different crop aspect ratios to see which one suits your image best.
A couple of tips to help you with this:
First of all, make sure that the lock icon next to the aspect ratio is closed - if it is open, you will get an "unconstrained" crop, which means it won't keep those dimensions.
Second tip: f you want to change the orientation of the crop, you can just press X on your computer keyboard, and you can switch the overlay between portrait and landscape.
Step Three: Choose Your Composition Overlay
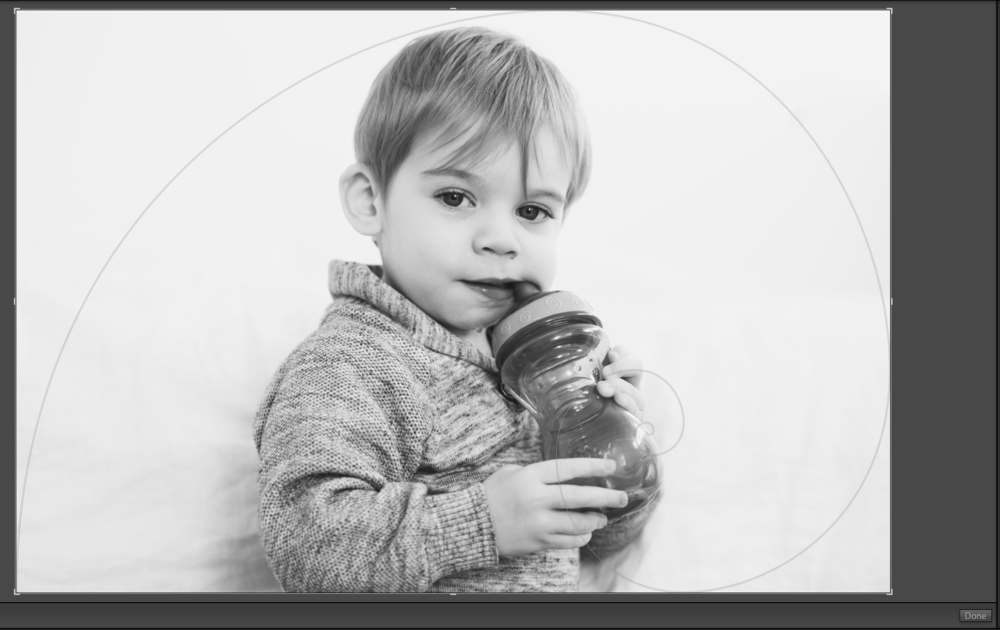
Now you want to choose a composition guide that works best with your photo.
Lightroom has a number of composition guides to help you choose the best one!
Simply press O on your computer keyboard to "cycle" through all the different composition tools available. These will show up as an overlay over your images so you can position the image to the best guide.
Step Four: Hover your mouse over the outer corners of the crop overlay
Once you have your aspect ratio correct and the best composition tool for your image, all you need to do now is crop! Just grab the outer corners of the crop overlay and pull it in to suit your image.
Step Five: Press Done!
At the bottom left on the main panel is a Done button, press it, or just press enter on your computer keyboard, and admire your beautifully cropped image.
Before you go, don't forget to download your Lightroom Starter Kit and get your free goodies!