How to Calibrate Your Monitor
One thing that is guaranteed to cause some confusion to most emerging photographers is calibrating their monitors.
Calibrating your monitor is simply a way of making sure what you see on your screen matches what you see in print. If you have ever had images come back from the printer bearing little resemblance to what you see on screen, an uncalibrated screen is one reason why!
The big downside to calibrating your monitor is that it is yet ANOTHER expense, as you will need to purchase a tool to do it, and let’s face it, photography can be an expensive enough hobby :-)
However, you do have several options when it comes to calibration tools. The one I use is the X Rite Color Munki, which seems to strike a good balance between features and price, so for many hobbyists since is what I would recommend.
For this tutorial, I’m going to show you how to calibrate your monitor using my own tool, the X-Rite Color Munki, but the process is very similar with other brands, so this should at least give you some idea of what goes into calibrating your monitor!
Before you begin to calibrate, you need to have some prints to hand. So if you normally use a specific printer like Mpix or WHCC for your prints, send off for some before you start. Getting a good range of different prints will be helpful, as it can be good to have a range of images to compare. You do need prints, so don’t be tempted to do this without them :-)
Step One: Get Ready!
The first thing you are going to need to do is have the software installed onto your computer. It shouldn’t take too long, and don’t do anything (like plug in your device) until everything has been downloaded.
Whilst you wait, close your blinds so you are not in bright daylight or anything like that. A nicely dim but not dark room is apparently best. (I’m not sure if it still makes any difference, but I am old school!)
Finally, before you start, you will need to have had your screen turned on for at least half an hour before you calibrate, so if you have just turned it on, off you go and get some wine. It will help with the boredom aspect that comes along in about two minutes.
Now, plug in the device into a USB port, launch the software, and get ready to geek out!

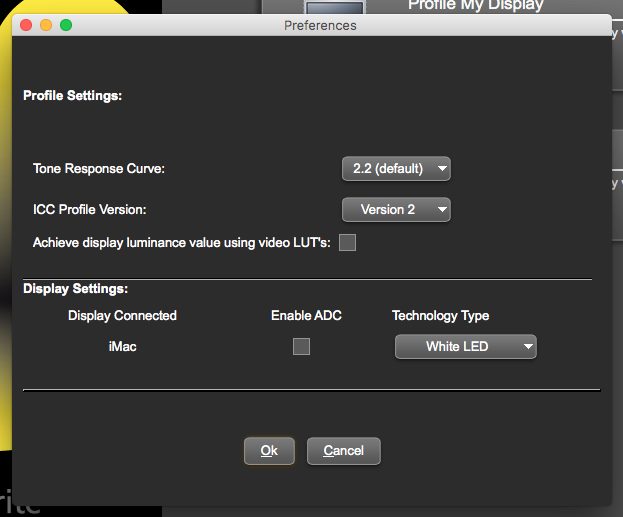
Step Two: Set the Preferences.
Go to File, then Preferences.
This all looks a bit daunting, but really, you will probably only have to change one thing here, and the rest you are just checking that all is as it should be.
It should look like the image below, and the only thing you might need to change is the “Technology Type”. You will find this on your manual for your computer, on your computer’s specs - I’m afraid I cannot tell you exactly what you have.
However, I can take a stab at it, because unless you have a old screen, or you paid a mammoth amount of money for it, you probably have a White LED screen, as it’s the most common type, but please do check as many newer screens like retina displays may use more advanced technology. Obviously pick the type that matches what you have.
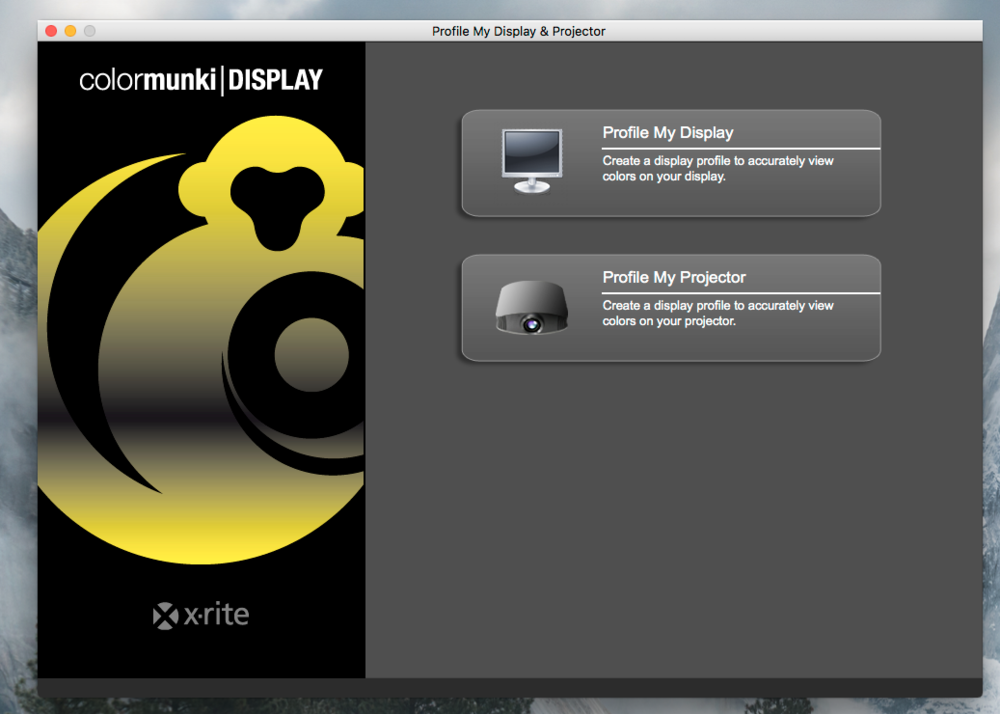
Step Three: Set your Targets
Now go back to the welcome screen, and choose Profile My Display.
Now, under Choose Profile Settings, you are going to choose Advanced.
Then, under White Point, choose Native, and under White Luminance, click on “I would like my display luminance set to the following value” and choose 100. (We might change both of these later, but it’s a great starting point)
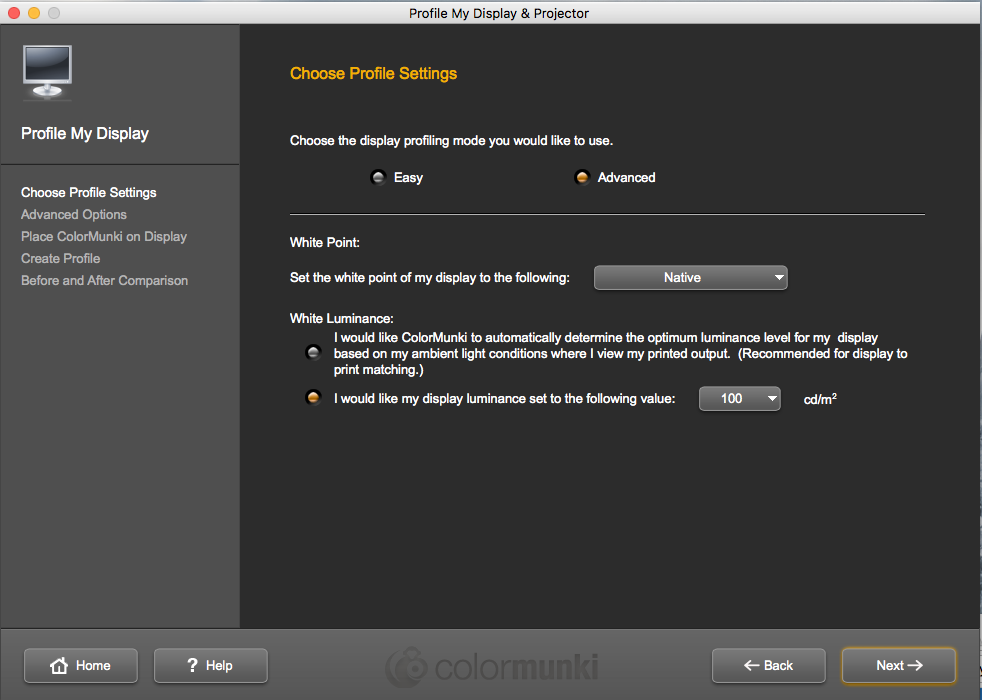
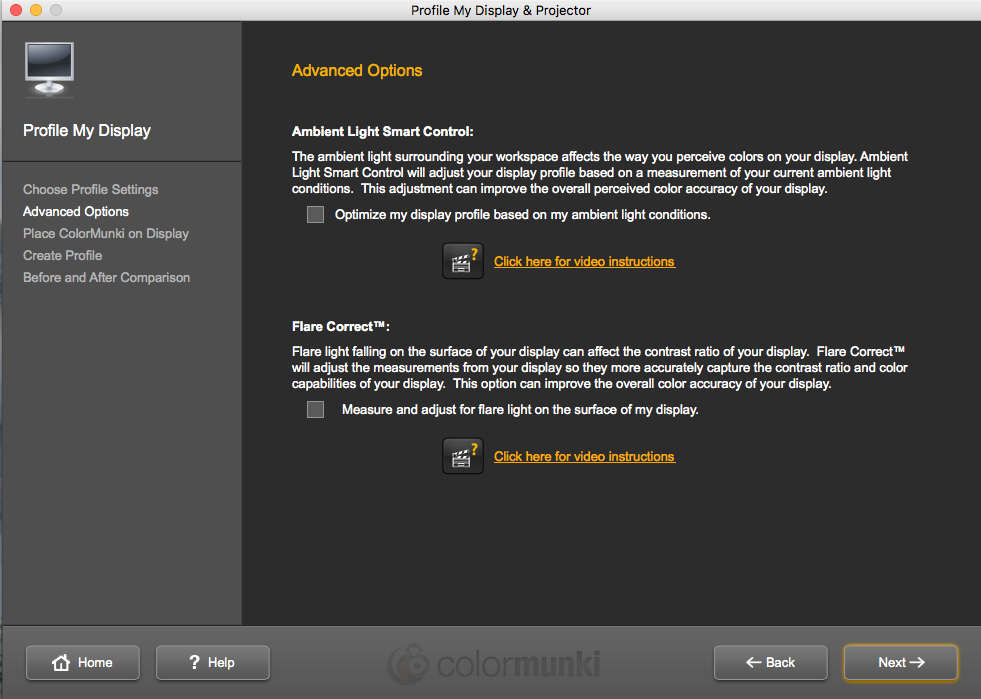
Now click next to move onto the next stage, and uncheck both the boxes under advanced options.
Step Four: Calibrate
Finally, we are ready to calibrate!
You want to place your calibration lens so that it lies flat on the surface of your screen. You get a little counterweight that you can hang down the back of the screen, and then position it over the little handy guide now showing on the screen.
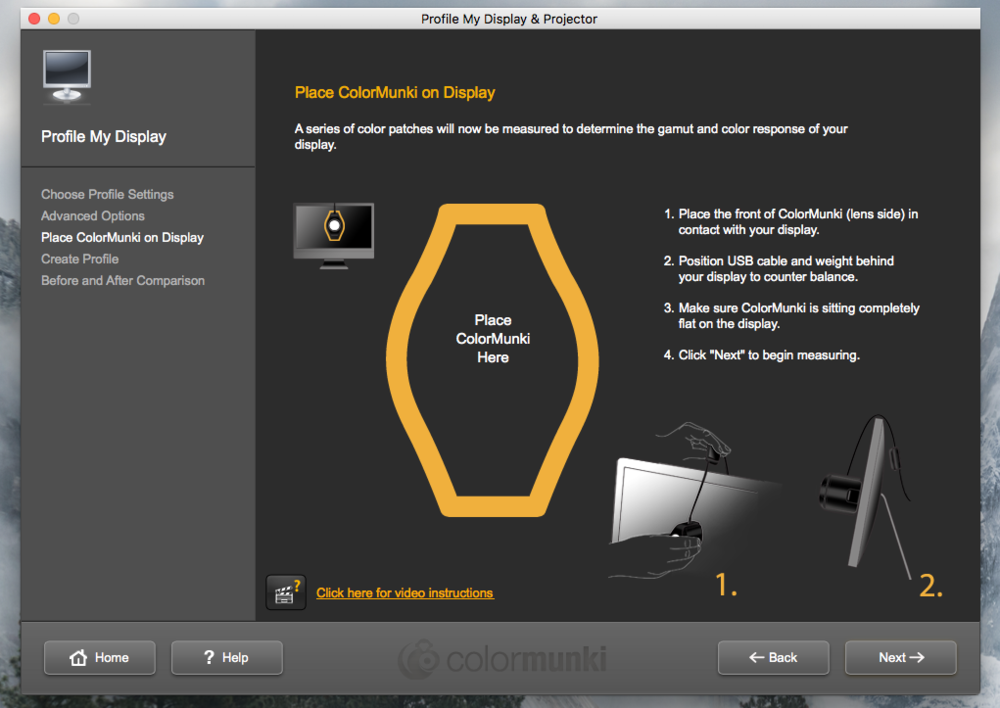
Click Next to start measuring.
You’ll need to set the brightness point - you are trying to get the little yellow bar to get in the green zone by adjusting the screen brightness using your keyboard.
You might go a little crazy at this point trying to get it spot on, so don’t worry if you can’t - just get it as close as you can.
(One bit of advice, it seems to take a second or two after adjusting for it to make the difference on the bar. So if you are close to getting it spot on, click just once on your brightness key and wait for it to catch up)
Once you have done that, your work is done for a little while, as the monitor flashes through a range of colors and the Color Munki does…..whatever it does.
(Did you remember to grab your wine back in step one? Now is the time to enjoy it)

Step Five: The Moment of Truth
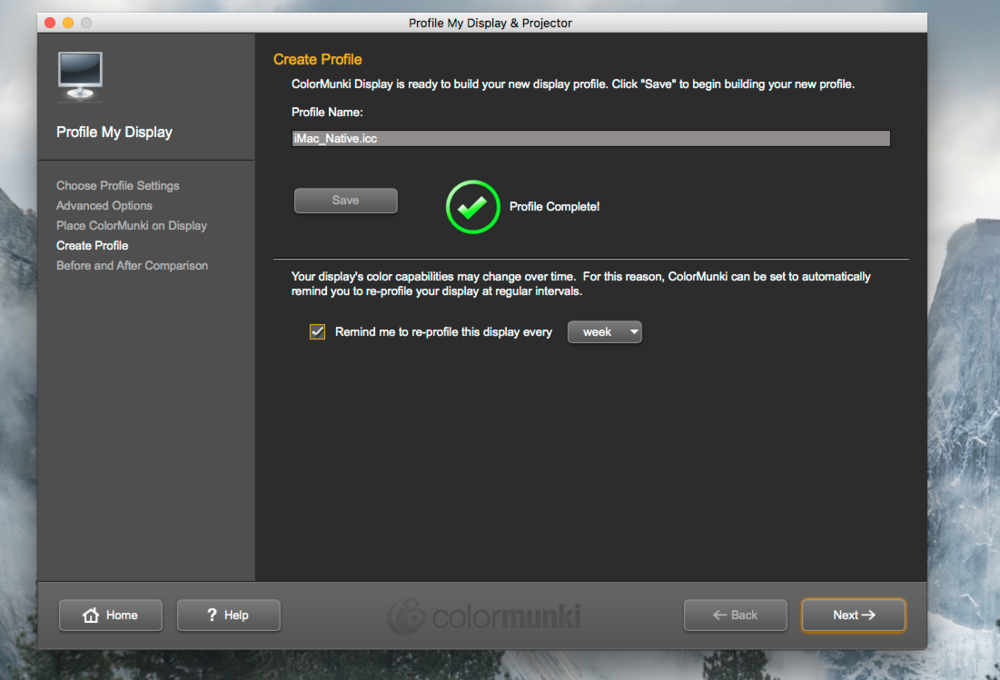
Now you need to save that calibration by giving it a name. I just use the default name but you can get all catchy if you want.
(I also recommend that at this point you check the box saying to remind you to re-profile the display. Every month is fine, but I daresay if you are anything like me you will forget anyway, but it is helpful to be reminded to do it)
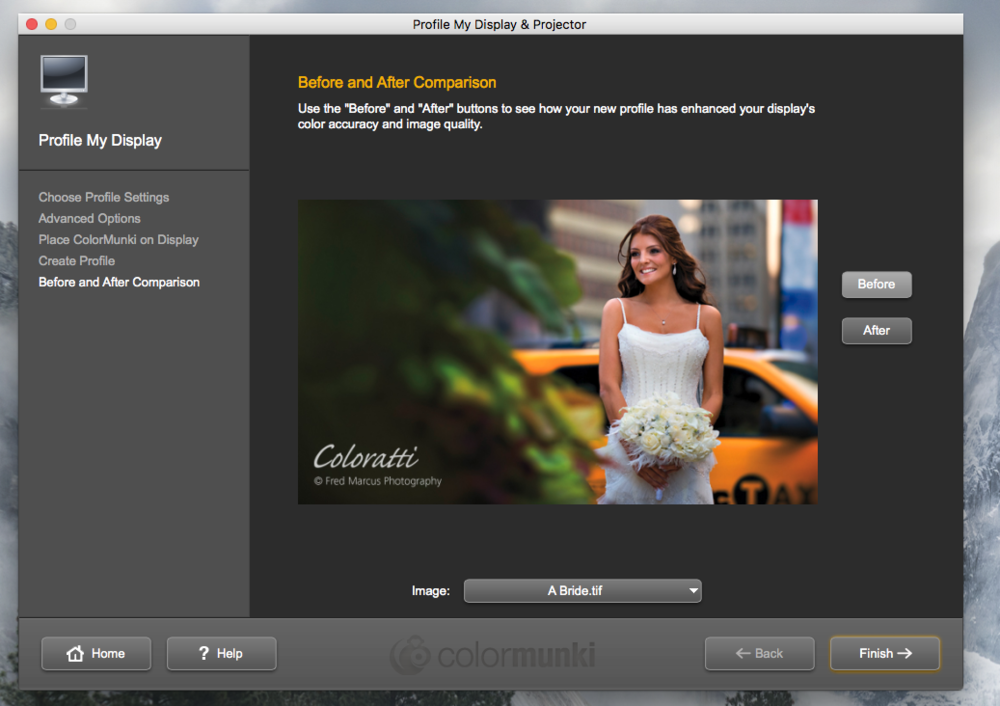
Now click next to move onto the before and after, so you can see whether there has been a big change or a little change.
So…...how do you know whether this is right or wrong?
Well, you are going to compare what you see on the screen, to what you see in your prints.
A word of warning - they will never look exactly the same, as a paper version of an image is always going to look different that what we see on screen. Instead, you want to be able to confirm that the prints you have closely resemble the image on the screen.
So, what do you do if the prints DON’T match?
Well the most likely reason is that you find your screen to be brighter or darker than your prints, in which case, you can run the calibration again, this time choosing a smaller or higher number for your white luminance settings (in step three)
So if the screen is brighter, choose a lower number, like 90, and if it’s darker, choose a higher number, like 110.
If your colours seem a bit off, then you are going to play with the white point setting you choose earlier, again back in in Step 3. I suggest switching from Native to D65 to begin with, but you can go along the different options.
Remember the goal here is to get your screen to match your prints as closely as possible.
When I finished calibrating the first time, I ended up with a White Luminance Setting of 90 rather than 100, and instead of Native for my White Point Setting, I ended up with D65. That doesn’t mean those settings will work for you, just so you can see that I had to change mine in the beginning too. But now, going forward, I use those same settings each month (90 and D65) which means that after that first “oh my god what I have done” experience, it gets easier.
Here is the before and after pictures from mine:
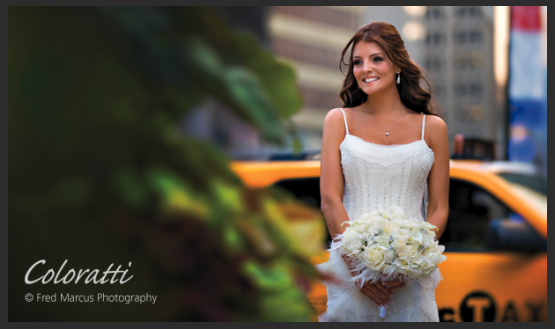
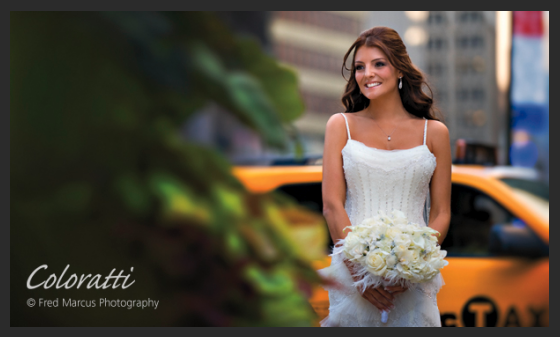
Not a huge difference, but that is because I calibrate every couple of months on average - you may find a bigger shift the first time around, it really just depends.
If you do decide to calibrate, I hope you found this guide helpful!