The Ultimate 5-Step Client Onboarding Process
So you want to clean up your client onboarding process because it’s unorganized right now. You feel like you’re in a total mess, and you KNOW that if you’re feeling confused by your process, so are your clients.
You’re in luck, because by the end of this post you will know my ultimate 5 step client onboarding process and you can implement it in your own design business, so that you can stop stressing about every new client you take on and start wowing them instead.
subscribe to youtubeWhen I first started out as a freelance graphic designer, I sent Paypal invoices or I tried to create my own invoices in InDesign so they’d look pretty. The problem was, the first option looked unprofessional and the second option took way too long.
I didn’t do Skype or phone consultations with potential clients because I was super introverted. I just talked to them through email.
I created my own contract from bits and pieces of other contracts I found online. Then, I would send the contract to my client and ask them to print it, sign it, scan it and send it back to me.
It sounds chaotic, right?
That’s because it was.
It was not a professional process to take my potential clients through.
Now, if you read of all and thought, “That’s what I do! I don’t think it’s that bad”, then we need to talk about WHY it is bad. In fact, ‘bad’ doesn’t even begin to describe how much your onboarding process is hindering your business.
Think about it. Your client onboarding process is the second impression potential clients get of you. (The first impression is your website.)
If your website and services are drop dead gorgeous but your onboarding process is messy and unprofessional, it puts potential clients off from hiring you. It causes potential clients to stop emailing you back.
Why?
Because their first impression of you and their second impression didn’t add up. It wasn’t consistent. And when your brand isn’t consistent, clients stop viewing you as a professional.
No one wants to work with someone who isn’t organized. Your clients have to spend weeks communicating with you about their project. If you can’t show them right from the beginning that the process is going to be smooth and simple, they’ll find someone else who will.
Now, a messy onboarding process is a problem for anyone. But it’s especially a problem for designers who charge premium prices.
The higher your prices are, the better your client experience should be.
Let’s look at an example.
Imagine if you’re a bride shopping for a wedding dress. If you go to a high-end designer wedding dress shop, you expect more than beautiful dresses, right? You expect a beautiful shop. Attentive staff. Glasses of champagne. You expect the experience of buying the dress to be just as premium as the dress itself.
The same principle applies to your onboarding process. If you want to charge premium prices or you already do, you need to get your onboarding process on the same level.
Now, enough chatter. I’m about to jump into my 5 main points.
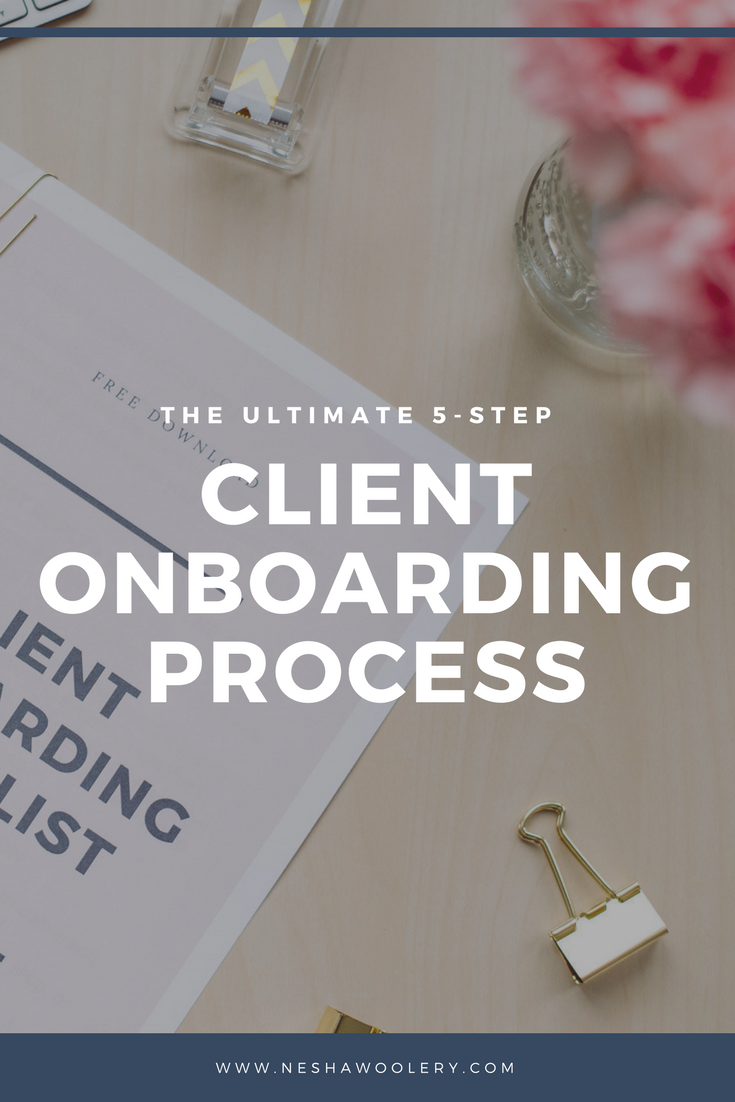
Before I do, download my FREE Client Onboarding Checklist so you can always onboard your clients without fearing that you missed something vital out.

Here are the 5 steps every web & graphic designer should include in their client onboarding process:
1. The client gets in touch and receives your autoresponder
Last year I added a new lesson to my course, Organize & Automate, all about autoresponders and my students LOVED it. In fact, hundreds of them implemented it straight away and they’ve told me how much this has helped their potential clients to overcome fears and hesitations about hiring them.
Let me explain.
An autoresponder is an automatic email that goes out to everyone who emails you. This is a standard feature of all email providers, like Gmail for instance, so make good use of it.
Use your autoresponder to tell inquirers when they can expect to hear back from you and when they won’t, where to view your price list, and where to view your FAQ page.
The main goal of your autoresponder is to keep your clients informed and cut down on the number of questions you could potentially email back and forth about.
2. Send your first reply
In your first reply, send a quote, ask if they want a consultation call, and send them to your onboarding page.
First, lets look at sending a quote.
There are lots of tools you can use to send a quote, like Pancake App, Wave Apps, Dubsado or Freshbooks! I’ve used my fair few over the years.
Here are the pros and cons of each:
Pancake App: Pay once and never again. You have to install this software on your own server, but don’t worry. When I last checked, the Pancake team do this part for you if you want them to. I love Pancake because it comes with all the features you need, like invoices, estimates, proposals and a time tracker. Your invoices are fully customizable so you can brand them to your heart’s content. You can also send invoices in any currency!
Wave: Wave is free. I love Wave for bookkeeping but not so much for invoicing because you can only invoice in your own currency as far as I’m aware.
Dubsado: Dubsado is becoming really popular. It’s an all-in-one solution where you can send invoices and contracts, manage your projects, and more. However, it starts at $25 a month, so it’s not suitable for you if you have a small budget.
Freshbooks: Freshbooks is probably the most popular accounting software for small businesses. Their support team is amazing and with the new Freshbooks update, it’s everything you need. Again though, it’s not free, so it may not be suitable for beginners who have a tiny budget.
You can also ask them if they want a free consultation call and do this over Skype or Zoom.
3. Offer a consultation
When I started doing client consultations, I booked SO many more clients. My conversion rate doubled.
Clients want to see who they will be working with. A consultation helps them see if they like you, vibe with you, and trust you.
You wouldn’t give thousands of dollars to a builder if you had never met them or seen them, right? The same principle applies to design.
4. Send a contract
After the consultation, you need to get your client booked in your schedule. To do this, send them a contract and invoice within 24 hours after the call.
You shouldn’t start any work until your client signs your contract. Contracts protect you from late payments, disappearing clients, scope creep and lots more nightmares.
Let me tell you a story.
When I first started out, I had a client that owed me $800 for her web design. But she decided not to pay me because she didn’t need the website anymore.
If I didn’t have a contract in place, I would have had no grounds to ask her to give me that $800. In fact, I KEPT asking her for it. I KEPT reminding her she had signed a contract. And finally, I threatened legal action.
Bingo.
She paid.
I could not have retrieved the money she owed me if I didn’t have a contract.
5. Send your client to your onboarding page
Notice there was no mention of a welcome packet or onboarding packet like some people recommend? That’s because I believe it overwhelms your client when you send them both. What’s the point when they both include almost the same things?
I like to combine them into one page and I call it the onboarding page. This page contains all the information your clients need about how your design process goes and what you need from them.
I like to split the page into two sections:
- the information they need before hiring you
- the information they need after hiring you
It won’t kill your client to see the information all on one page instead of in two separate packets. In fact, clients are always curious about how the design process goes. It’s actually a little daunting for them! So being able to see what you need from them after they book your services will help take some of the fear away from them and help them understand what you need from them to create beautiful designs.
Bonus step!
You also need to add your client to your project management system and train them how to use it so you can stop emailing from this point and start using your project management tool. My favourite PM tools are Asana and Dubsado!

Want to get organized but not sure where to start? Start by organizing your client onboarding process! This free checklist will show you the exact steps you need to take when someone inquires about your services, and the free tools you can use to book them in your schedule.